


Publisher Postcard Templates – Publisher is made for Desktop Publisher. Microsoft pays its designers to create shows just for you, its subscriber. Want to create an inspirational flyer? A newsletter? Mailing labels? A ticket?
You can go ahead and measure the labels, make the margins, columns and guides, but we recommend that you let Microsoft do it. So you can spend your energy on creative design instead of measurements.
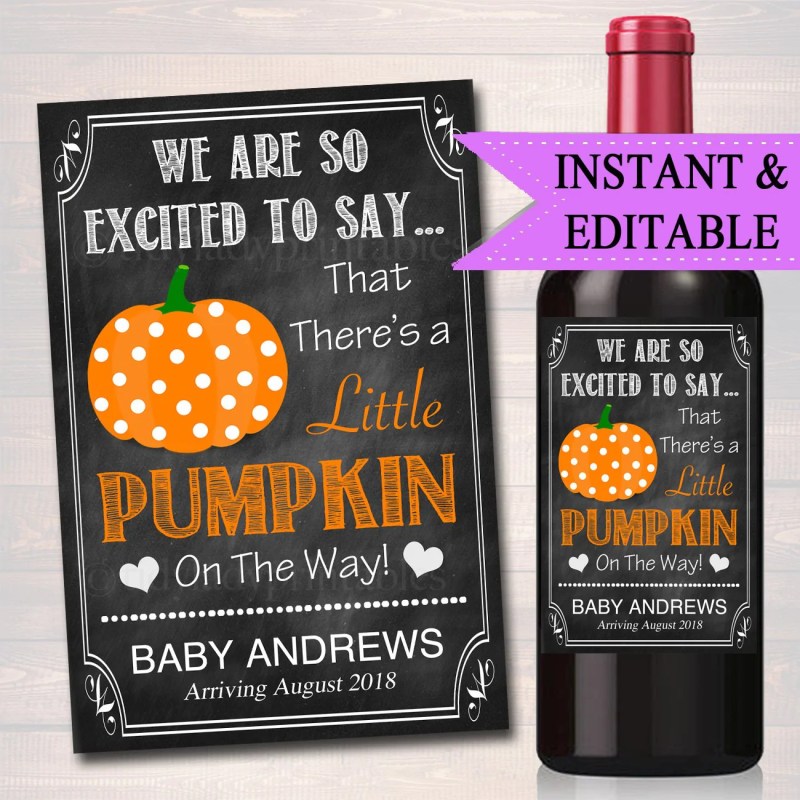
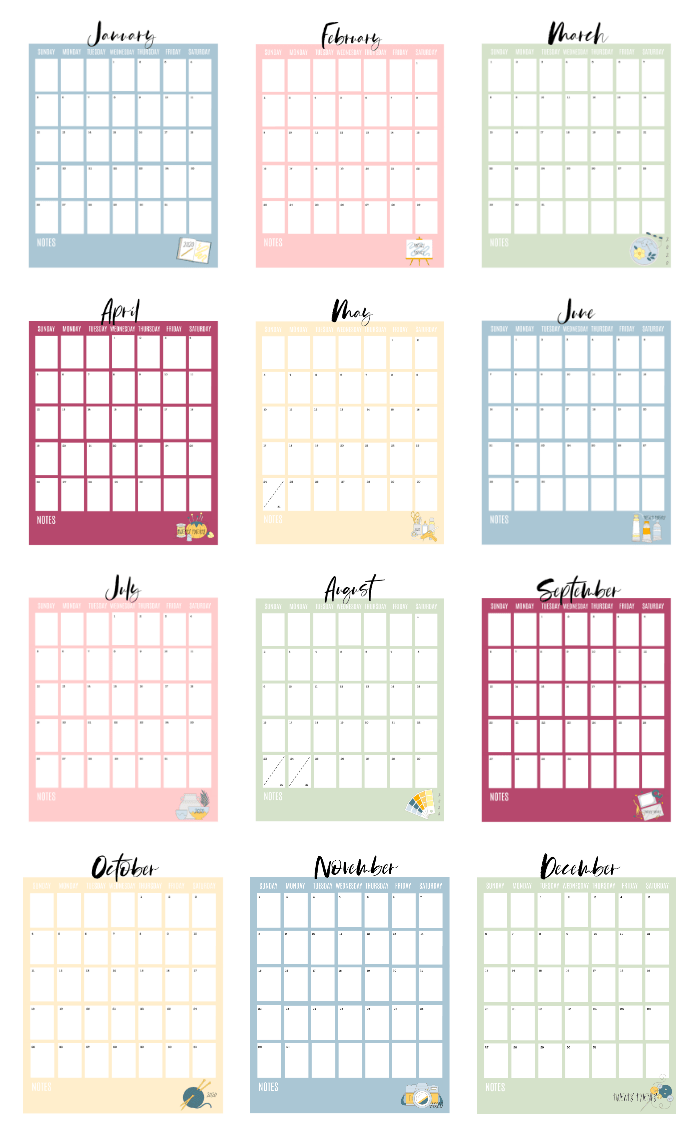
Publisher Postcard Templates

When you open a new document in Publisher, the Publisher > Home screen appears. In addition to spaces for portrait pages (8.5″ x 11″) and landscapes (11″ x 8.5″), there are other templates on the right.
Restaurant Legal Presentation Folder Template In Psd, Word, Publisher, Illustrator, Indesign, Apple Pages
Click “More Templates” to see their ideas. You can type a specific model in the search bar or select one of the options below. There is also “Default Search” under the search bar.
Let’s use a quarter-fold invitation as an example. Type the word “quarter” into the search box on the New Publisher page, and press Enter.
This is the perfect template for making quick greeting cards, like a birthday card for your grandchildren! (I still have 24lb bright white printing paper just for this.)
Select the tank card with the sun. Start with portrait format (tall) instead of landscape format (wide), but you can easily change it later. You can double-click or single-click a card, then click “Create” in the window that opens.
Publisher Premium Email Newsletter Templates And Delivery
The editor creates a four-page greeting card for you. Look at the Pages panel on the left. There is a first page numbered “1”. Two inside pages, numbered “2” and “3”. And a last blank page, numbered “4”. Click on each page to view. Here is a screenshot of the inside of your card.
Let’s see how the page is set up from the Page Design tab. Let’s start with the Page Design tab > Page Settings section > Size drop-down menu. Remember, the current paper size is still “Letter” paper which is 8.5″ x 11″, but we will fold the final version of the paper in quarters: in half, then in half again. That is defined as 1/4 Letter Side Fold. You can also make half and top folds. I often decide on the fold from the image I want to use.
What are the margins? (Page Layout tab > Page Setup section > Margins drop-down.) This template has an “average” margin of 0.5″ on each side of the pages. Each quarter is set with 0.5″ margins.

Because we chose the tall Portrait version instead of a wide Landscape version, the Page Design tab > Page Setup section > Orientation dropdown is set to Portrait.
Real Estate Advertising Postcard
If you ever want to change the settings of your site, just change the template settings to suit your needs.
To get things into swing, let’s first add a byline to the back of the card. Click on Page 4 in the Pages panel. Insert a text box that extends from one blue margin line to another, starting at 4″ and going to the bottom right of the margins. In your text box, type “Made for you by” and press Shift-Enter. ( Shift- Enter adds a space between lines instead of a new paragraph.) Add your name or “Mom,” “Dad,” “Sister.” The more personal, the better.
Now center your text in the middle of the text box using the Text Box tab > Alignment Section > Align Center. (Make sure your text box is selected from the “magic” tab Text box will not appear. This will center your text vertically and horizontally in your text box. The font is automatically selected by the template. We can change it later , but for now, just make your “byline” a size or two smaller. (You don’t want to draw attention away from the front of the card, do you?
Click back to Page 1 in the Pages panel. We will start from scratch, so use one of these methods to select and then delete the “All” objects on page 1.
Postcard Mockup Templates (free & Pro)
(Some objects may be on the “Master” page. Adding or removing items on the Master page will add or remove those objects to any other page. To remove, go to the View tab > Section Views > Master Page . Select All, then Delete.)
Insert a nice photo that matches the feel of the card. I like to use pictures of flowers in my garden, so I included an iris. Adjust the size and/or crop your photo so that it fits neatly between the margins of your card.
Add a text box from one margin to the other on the side of the paper. Write your cover greeting one from your card. Be sure to make it personal with a name. Visit the text box tab > text section > text size dropdown menu > best fit to expand your text to fit your card! Now center your text in your text box as you did on page 4. You can adjust the size of the text box and your text will fit to the “Best fit”. Draw a line by lifting the middle bottom handle of the text box.

Match the color of your font to your image using the “Dropper” tool. Always select your text first before making changes. From the Home tab > Font section > font color drop-down menu, select the dropper icon. Your cursor will change to a pepper cursor or “dropper”. Click and drag the dropper on a nice dark color in your image. You will see a sample of the color in a box above the dropper. Once you find the color you like, release the mouse. Your font matches your image color exactly.
Best Affinity Publisher Templates & Assets 2023 (free & Premium)
(You can also place your text box directly on your image and choose a light or dark color so that it matches and covers part of the image. Make sure that the Format text box shape > the menu the Shape’s Outline dropdown is set to “No Fill”. .” which keeps the background of the text box transparent so you can see your image.)
Change your font to something that looks good and fits the occasion. Make sure your greeting is always selected in the text box. All fonts are listed alphabetically in their font style from the Home tab > Font section > Font drop-down. Choose a bold font that is legible, even easy to read.
Once your font is right, play with the size or the size of the text box to create an attractive cover. I’ll drag mine back to the photo to make it probably in two lines.
Use your Select All and Delete skills to remove all objects from pages 2 and 3. This is entirely your choice. Greeting card messages are usually on the inside right side of the card. You can add another image on the left (Page 2) or simply enter a greeting on the right. You can leave it blank for a handwritten card. It’s all up to you. Always leave room for a handwritten signature!
Funeral Program Postcard Template V03 By Rapidgraf
Drag your text onto Page 4 (or triple-click to select the entire paragraph). From the Home tab > Font section > Font drop-down, you will see the font we used on the cover listed in the first line just below “Recently Used Fonts”. I know I forgot what I chose, but the editor remembered. Choose that font.
Remember the dark color you used for the font on Page 1? The editor does. With your byline selected, go to the Home tab > Font section > Font Color drop-down. The most recent color you’ve used, our dark drop color, will appear in the Recently Used section, with the most recent box to the left. Choose that color.
Try this step by going back to your greeting on page 3. Update the font and color so it matches the rest of your card.

Hyphenation tip: If you typed a paragraph on Page 3 Editor might have automatically inserted hyphens, which isn’t really what you want for your nephew, is it? To change the interrupt settings,
Postcard & Invitation Design Archives » Danielle Hobeika: Web Design, Graphic Design, And Photography
Go to the File > Print tab for a print view. The print page will show the current settings for this model. Notice that pages 1 and 4 are straight up and pages 2 and 3 are upside down! If you see only one page, your settings are not set to “Side-fold, quarter sheet”. Check your settings to look similar to the screenshot below, but with your printer showing. There is a check box at the bottom, which reminds the Editor to save all these settings with your document.
I mentioned before that I always keep 24 pound bright white paper on hand for greeting cards, flyers or newsletters. For double-sided documents, such as a newsletter, the ink does not transfer. For greeting cards, it just makes the paper look a little thicker, a little nicer, and “store bought.” Now load the correct paper into your printer and click Print!
Fold your printed map in the middle of the paper just above pages 4 and 1. Now fold it into a quarter size again so that pages 2 and 3 are in the center. All pages are now lined up, just like a greeting card!
(Did you know you can buy “Invitation Envelopes” at office supply stores like Staples that are made for quarter-fold cards?
Watercolor Funeral Program Publisher Template On Behance
Save your greeting card
Postcard template for publisher, just sold postcard templates, publisher postcard template, microsoft publisher postcard templates, postcard templates, publisher postcard, postcard templates for publisher, postcard publisher marks, microsoft publisher postcard, publisher templates, real estate postcard templates, ms publisher postcard template